ICGOO在线商城 > 工具 > 压接器,施用器,压力机 > 58074-1
- 型号: 58074-1
- 制造商: CORCOM/TYCO ELECTRONICS
- 库位|库存: xxxx|xxxx
- 要求:
| 数量阶梯 | 香港交货 | 国内含税 |
| +xxxx | $xxxx | ¥xxxx |
查看当月历史价格
查看今年历史价格
58074-1产品简介:
ICGOO电子元器件商城为您提供58074-1由CORCOM/TYCO ELECTRONICS设计生产,在icgoo商城现货销售,并且可以通过原厂、代理商等渠道进行代购。 58074-1价格参考¥1315.58-¥1315.58。CORCOM/TYCO ELECTRONICS58074-1封装/规格:压接器,施用器,压力机, 手持压接器 - 无模具 工具 因模具套件而异 。您可以下载58074-1参考资料、Datasheet数据手册功能说明书,资料中有58074-1 详细功能的应用电路图电压和使用方法及教程。
| 参数 | 数值 |
| 产品目录 | |
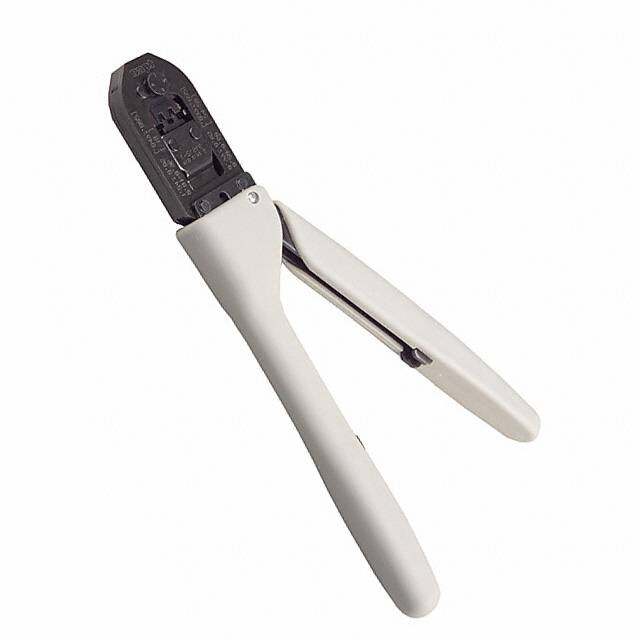
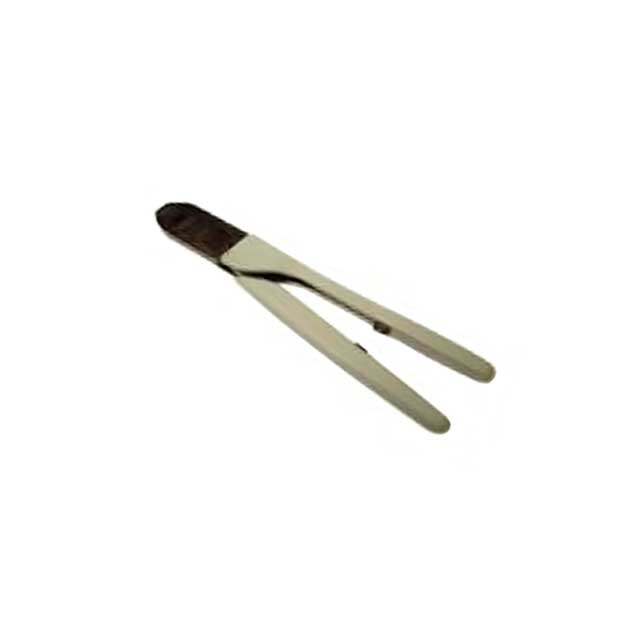
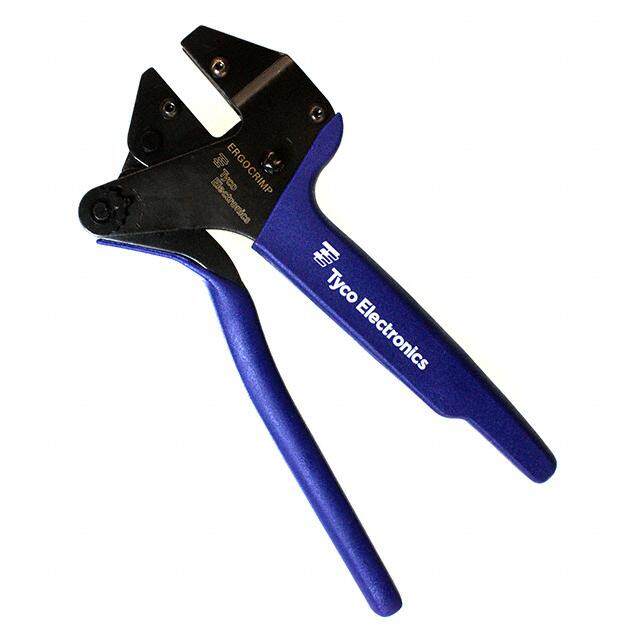
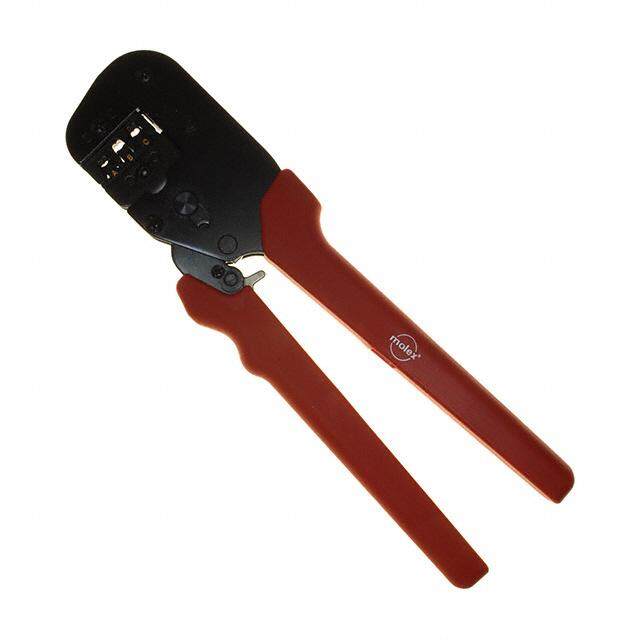
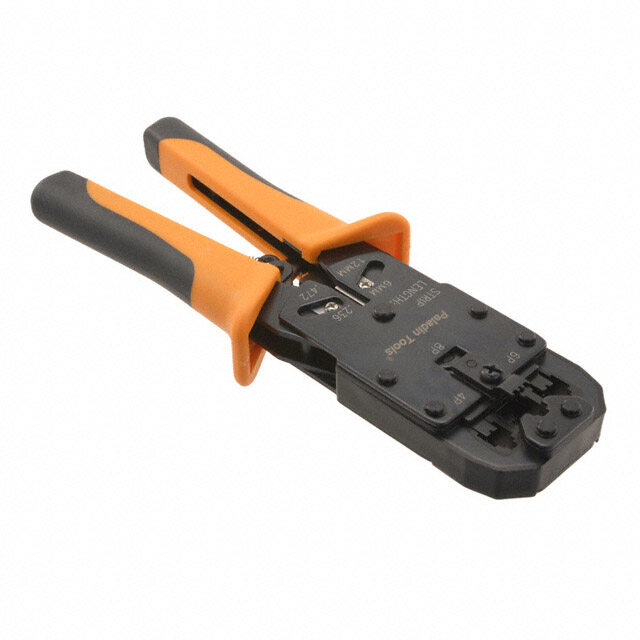
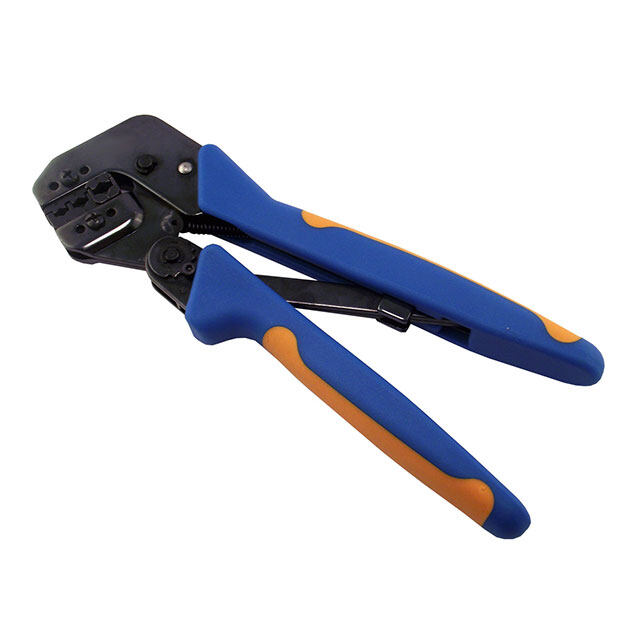
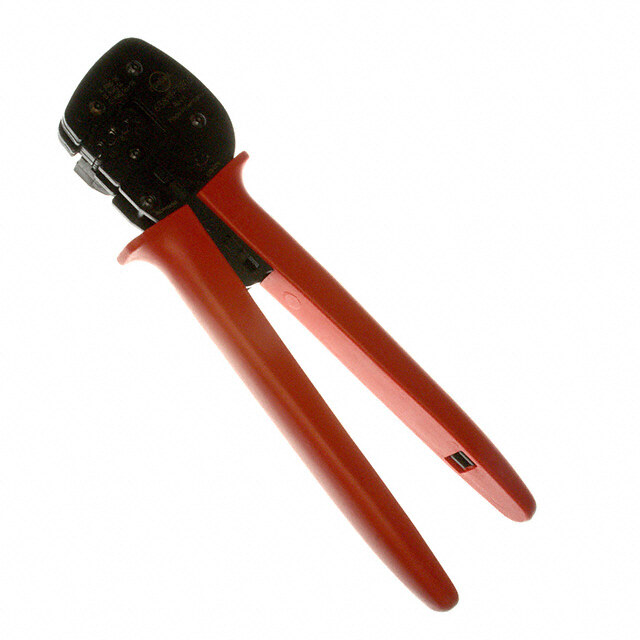
| 描述 | TOOL MANUAL FOR SHELL CONNECTORS手工工具 HAND TOOL PISTL GRIP |
| 产品分类 | |
| 品牌 | TE Connectivity / AMP |
| 产品手册 | |
| 产品图片 |
|
| rohs | 不可用不适用 / 不适用 |
| 产品系列 | 手工工具,TE Connectivity / AMP 58074-1AMP |
| 数据手册 | |
| 产品型号 | 58074-1 |
| 产品 | Hand Tools |
| 产品目录页面 | |
| 产品种类 | 手工工具 |
| 其它名称 | 580741 |
| 商标 | TE Connectivity / AMP |
| 工具类型 | 手持压接器 - 无模具 |
| 工厂包装数量 | 1 |
| 描述/功能 | Grip tool handle |
| 标准包装 | 1 |
| 特性 | - |
| 用于 | Pistol grip tool PN 937317-1 |
| 相关产品 | /product-detail/zh/312140-1/312140-1-ND/676012 |
| 类型 | Pistol Grip Manual Handle |
| 配套使用产品/相关产品 | 因模具套件而异 |
| 配用 | /product-detail/zh/58646-2/58646-2-ND/2041101/product-detail/zh/58646-1/58646-1-ND/2041100/product-detail/zh/58644-1/58644-1-ND/2041098/product-detail/zh/58638-1/58638-1-ND/2041095/product-detail/zh/58395-1/58395-1-ND/2041036/product-detail/zh/58392-1/58392-1-ND/2041035/product-detail/zh/58247-3/58247-3-ND/2041013/product-detail/zh/58247-2/58247-2-ND/2041012/product-detail/zh/58246-2/58246-2-ND/2041011/product-detail/zh/58061-1/58061-1-ND/2040980/product-detail/zh/58246-3/58246-3-ND/700055/product-detail/zh/231894-1/231894-1-ND/668869/product-detail/zh/58082-1/58082-1-ND/389812/product-detail/zh/58443-1/A30528-ND/297753/product-detail/zh/58372-1/A99129-ND/297731/product-detail/zh/58336-1/A28718-ND/297713/product-detail/zh/58442-1/A9973-ND/251316/product-detail/zh/58247-1/A1999-ND/117951/product-detail/zh/58246-1/A1998-ND/117948/product-detail/zh/58063-2/A2032-ND/63296/product-detail/zh/58062-1/A2040-ND/59243 |


- 商务部:美国ITC正式对集成电路等产品启动337调查
- 曝三星4nm工艺存在良率问题 高通将骁龙8 Gen1或转产台积电
- 太阳诱电将投资9.5亿元在常州建新厂生产MLCC 预计2023年完工
- 英特尔发布欧洲新工厂建设计划 深化IDM 2.0 战略
- 台积电先进制程称霸业界 有大客户加持明年业绩稳了
- 达到5530亿美元!SIA预计今年全球半导体销售额将创下新高
- 英特尔拟将自动驾驶子公司Mobileye上市 估值或超500亿美元
- 三星加码芯片和SET,合并消费电子和移动部门,撤换高东真等 CEO
- 三星电子宣布重大人事变动 还合并消费电子和移动部门
- 海关总署:前11个月进口集成电路产品价值2.52万亿元 增长14.8%
PDF Datasheet 数据手册内容提取
Instruction Sheet 408-6790 Pistol Grip Manual Handle Assembly 58074-1 28 MAR 11 Rev C PROPER USE GUIDELINES Cumulative Trauma Disorders can result from the prolonged use of manually powered hand tools. Hand tools are intended for occasional use and low volume applications. A wide selection of powered application equipment for extended-use, production operations is available. For details concerning the termination procedure, NOTE Key (Visible on Body Ratchet refer to the instructions included with the head. this Side) i Pawl 3. HEAD INSTALLATION AND REMOVAL 1. Position the blade tip of a screwdriver between the shoulder of the key and the handle assembly body. Pry and remove the key. 2. Squeeze the cam handle until the ratchet releases, then allow it to FULLY open. 3. Insert the terminating head into the head entrance until the head bottoms. See Figure 2. Make sure that the head is FULLY bottomed in the NOTE handle assembly before re-inserting the key. Cam i Handle Head Figure 1 1. INTRODUCTION Pistol Grip Manual Handle Assembly 58074-1 accepts interchangeable terminating heads that terminate Head Entrance wires to connectors. To ensure accurate termination of wires, setup adjustments, and head maintenance, refer to the instructions packaged with the terminating head. Key Removed Dimensions in this instruction sheet are in metric NOTE units [with U.S. customary units in brackets]. i Figures are not drawn to scale. Reasons for reissue of this instruction sheet are provided in Section 6, REVISION SUMMARY. Cam Handle Fully Opened 2. DESCRIPTION The manual handle assembly features a cam handle, Figure 2 a key, and a ratchet pawl. The head is secured in the handle assembly with the key. 4. Re-insert the key to retain the head. Apply enough pressure to fully insert the key into the After the head is properly installed in the handle manual assembly. assembly, the cam handle actuates the terminating mechanism inside the head. The ratchet pawl is used 5. To remove the head, remove the key and pull the to release the handle before it is fully closed. head out of the handle assembly. ©2011 Tyco Electronics Corporation, a TE Connectivity Ltd. Company TOOLING ASSISTANCE CENTER 1-800-722-1111 This controlled document is subject to change. 1 of 3 All Rights Reserved PRODUCT INFORMATION 1-800-522-6752 For latest revision and Regional Customer Service, TE Connectivity, TE connectivity (logo), and TE (logo) are trademarks. visit our website at www.te.com *Trademark. Other logos, product and/or Company names may be trademarks of their respective owners. LOC B
408-6790 4. MAINTENANCE AND INSPECTION 4.2. Periodic Inspection It is recommended that a maintenance and inspection 1. Remove any accumulated film with a suitable program be performed periodically to ensure cleaning agent that will not affect plastic material. dependable and uniform terminations. Though 2. Make sure all components are in place and are recommendations call for at least one inspection a properly secured. Check the handle assembly for month, frequency of inspection depends on: chipped, cracked, worn, or broken areas. If damage 1. The care, amount of use, and handling of the is evident, repair is necessary. See Section 6, handle assembly. REPLACEMENT AND REPAIR. 2. The presence of abnormal amounts of dust and 5. REPLACEMENT AND REPAIR dirt. Customer-replaceable parts are listed in Figure 3. 3. The degree of operator skill. A complete inventory can be stocked and controlled to 4. Your own established standards. prevent lost time when replacement of parts is The handle assembly is inspected before being necessary. Parts other than those listed should be shipped; however, it is recommended that the handle replaced by Tyco Electronics Corporation to ensure assembly be inspected immediately upon arrival to quality and reliability of the handle assembly. Order ensure that the handle assembly has not been replacement parts through your representative, or call damaged during shipment. 1-800-526-5142, or send a facsimile of your purchase to 717-986-7605, or write to: 4.1. Daily Maintenance CUSTOMER SERVICE (038-035) Each operator should be aware of, and responsible TYCO ELECTRONICS CORPORATION for, the following: PO BOX 3608 1. Remove dust, moisture, and other contaminants HARRISBURG PA 17105-3608 with a clean brush, or soft, lint-free cloth. DO NOT use objects that could damage the handle For customer repair service, call 1-800-526-5136. assembly. 6. REVISION SUMMARY 2. Ensure that all components are in place and properly secured. Since the previous release of this instruction sheet, the new company logo has been applied. 3. With the terminating head in place, squeeze and release the cam handle to ensure that the mechanisms move smoothly. 4. Depress and release the spring-loaded ratchet pawl to ensure that the pawl moves freely. 5. Check the extension springs to ensure they are properly located and are not deformed. Rev C 2 of 3
408-6790 REPLACEMENT PARTS ITEM PART NUMBER DESCRIPTION QTY PER ASSY 1 312145-1 HANDLE, Cam 1 2 1-22353-2 SCREW, Slot Head Shoulder 1 3 312140-1 KEY 1 4 312141-1 NUT, Cam Adjustment 1 5 312142-1 SCREW, Ratchet Adjustment 1 6 28593-1 SCREW, Self-Tapping 1 7 1-21919-2 PIN, Dowel 1 8 312143-1 PAWL, Ratchet 1 9 22286-9 SPRING, Extension 2 10 312144-1 HANDLE, Right 1 11 312144-2 HANDLE, Left 1 12 28593-3 SCREW, Self-Tapping, .22 X .62 In. L 1 Figure 3 Rev C 3 of 3

 Datasheet下载

